One thing that’s generated a lot of interest in 2026 so far is coaching people on the basics of safe and effective kettlebell training.
Kettlebells are incredible tools — fat loss, improved health markers, lean muscle, stamina, mobility, and flexibility.
But you do want to understand the basics of training with them safely and effectively, both to get the most out of your sessions and to avoid injury.
Here’s the thing: whether someone has been training with kettlebells for years or has never picked one up, I always start them in the same place — the swing.
The swing is the foundation. It’s the movement that underlies all the other ballistic kettlebell lifts — cleans, snatches, you name it. Get your swing dialed in, and everything else becomes easier to learn.
So here’s the exact progression I use with new clients:
—–
If you want to go deeper, I have a full one-hour kettlebell swing workshop where I walk through all of this and more — it’s essentially a personal training session with me, on video. It was recorded live over Zoom, so you get to see real-time coaching, real questions, and real corrections. That workshop is included as a bonus in the Kettlebell 500 Protocol — 28 Day Challenge — and honestly, the cost of the challenge alone is probably worth it.
→ Kettlebell 500 Protocol — 28 Day Challenge
—–
- Face-the-Wall Squat
Grab your kettlebell, place it a couple of inches from the wall, and face toward the wall. Your goal eventually is to squat with your toes touching the wall — but start with your feet a couple of feet back. The bell goes between your feet. Focus on staying upright, shoulders back, no twisting or collapsing forward. Do a few reps.
- Face-Away-from-Wall Hip Hinge
Now turn around. Step a bit further from the wall and face away from it. Same setup — bell between your feet. This time you’re hinging at the hips, pushing your butt back toward the wall until you tap it, then standing back up. Stand far enough that you really have to reach those hips back — you should feel a solid stretch in your hamstrings. A few reps here.
- Deadlifts (No Wall)
Come away from the wall and repeat the same hip hinge movement — just you and the bell now, in open space. Clean this up, own the pattern.
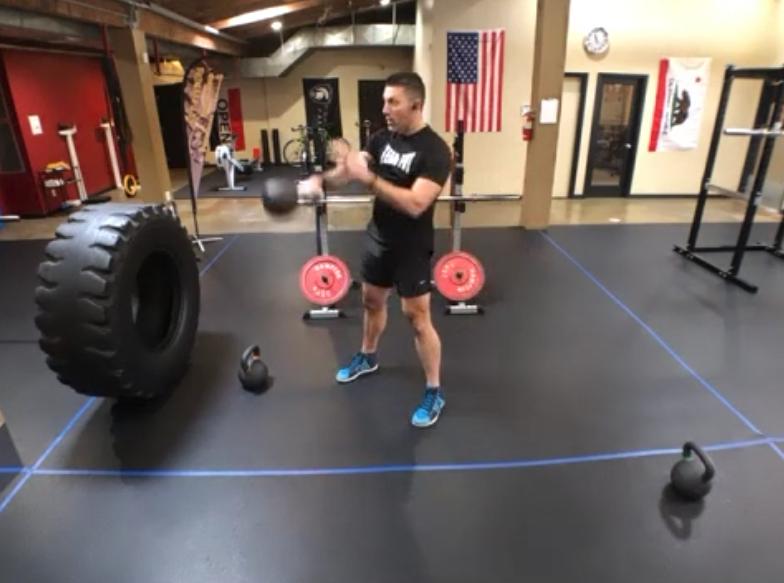
- Half Swings
Step back from the bell so it’s slightly in front of your feet. Hike it back like a football snap, then drive your hips through. That’s the focus — the hip snap. Let the bell float up (maybe waist height), but don’t worry about how high it goes. This is not an arm lift. Just hips.
- Full Swings
Same movement, just snap those hips a little harder and let the bell travel higher. From here, you’re swinging.
—–
Now, this is the clean version of the progression. In reality, we often add in drills along the way — towel swings to take the arms out of it, band work to reinforce the hike pass, glute bridges to wake up the glutes. It’s rare that someone has a perfect swing right out of the gate.
If you want to go deeper, I have a full one-hour kettlebell swing workshop where I walk through all of this and more — it’s essentially a personal training session with me, on video. It was recorded live over Zoom, so you get to see real-time coaching, real questions, and real corrections. This is the kind of session I typically charge a few hundred dollars for as part of one of my monthly coaching programs.
That workshop is included as a bonus in the Kettlebell 500 Protocol — 28 Day Challenge — and honestly, the cost of the challenge alone is probably worth it.
→ Kettlebell 500 Protocol — 28 Day Challenge
If you want to work with me one-on-one, in person or over Zoom, I do offer individual training sessions — but they come at a higher cost since it’s my direct time.
But whether you sign up or not, I hope this progression gives you something useful to work with.
Let’s make it a great week!
— Forest
