
*My new 300 Kettlebell Challenge 28-Day Challenge officially kicks off today, Monday, June 1st.
The price has gone up slightly, but it’s still a great value.
You’ll get kettlebell hacks and tips like this in the book, the coaching videos, and the deep-dive workshop included with the Challenge.
Sign up HERE.
Top 5 Swing Hacks
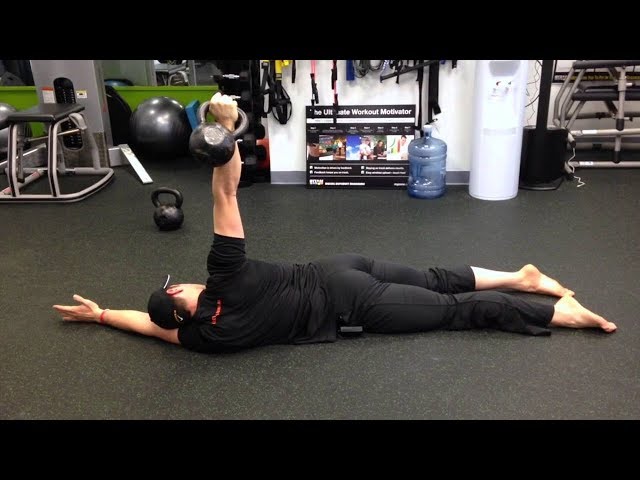
Kettlebells are incredible tools — fat loss, better health markers, lean muscle, stamina, mobility, flexibility.
But you do need to understand the basics so you train safely and get the most out of every session.
Whether someone has been training with kettlebells for years or has never picked one up, I always start in the same place:
The swing.
It’s the foundation. The movement underneath cleans, snatches, and every other ballistic lift. Get your swing dialed in and everything else becomes easier.
Here’s the exact progression I use with new clients:
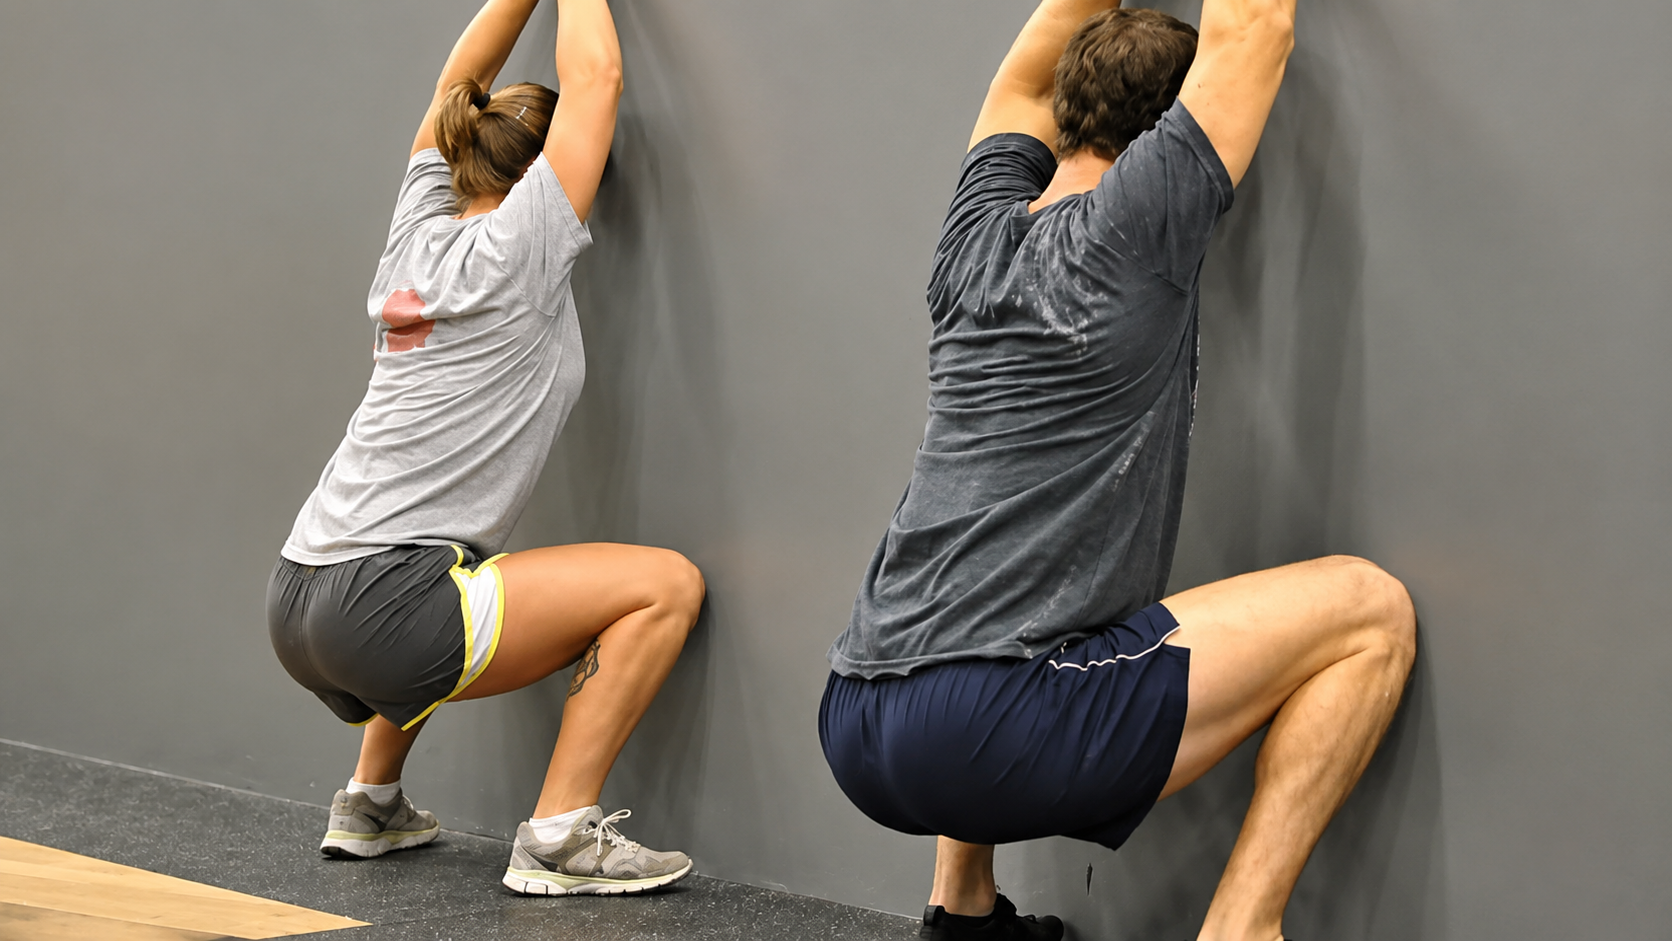
1 — Face-the-Wall Squat
Place the kettlebell a few inches from a wall and face it. Start a couple feet back. Squat with the bell between your feet. Work toward getting your toes closer to the wall.
2 — Face-Away-from-Wall Hip Hinge
Turn around. Stand a bit away from the wall. Hinge at the hips and push your butt back until you tap the wall. You should feel a stretch in your hamstrings.
3 — Deadlifts (No Wall)
Step into open space and repeat the same hinge pattern.
4 — Half Swings
Set the bell slightly in front of you. Hike it back like a football snap. Snap your hips. Let the bell float to around waist height.
5 — Full Swings
Same movement. Harder hip snap. Let the bell travel higher.
That’s the clean progression.
In reality, we’ll often add drills — towel swings to remove the arms, bands to reinforce the hike pass, glute bridges to wake up the glutes. Very few people have a perfect swing right away.
I hope this progression gives you something useful to work with.
Let’s make it a great week!
– Forest
PS – My new 300 Kettlebell Challenge 28-Day Challenge officially kicks off today, Monday, June 1st.
The price has gone up slightly, but it’s still a great value.
You’ll get kettlebell hacks and tips like this in the book, the coaching videos, and the deep-dive workshop included with the Challenge.
Sign up HERE.