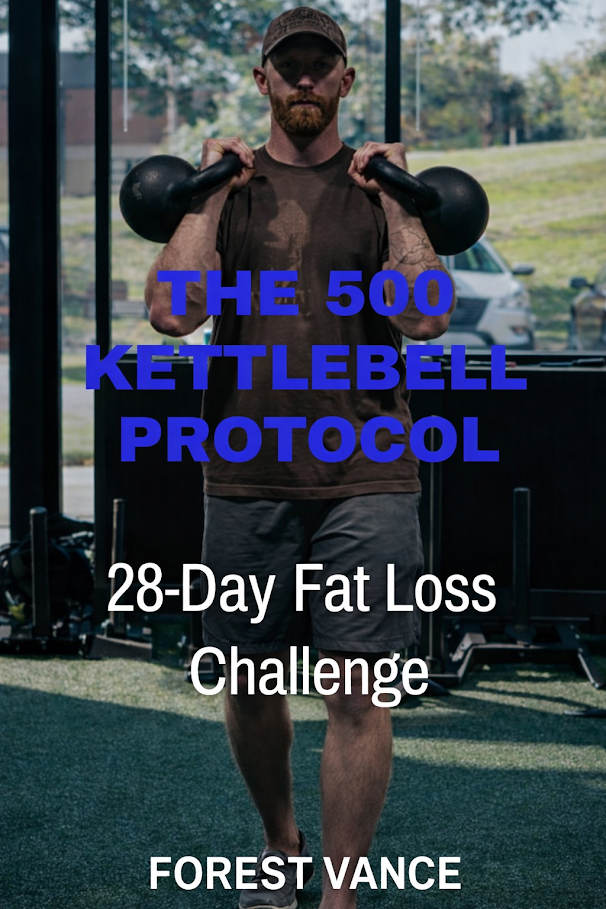

Yesterday I told you about my 500 Kettlebell Protocol, the system I recommend for anyone who wants to drop a clothing size, lose 8 to 10 pounds, or just get in great shape for the rest of the summer.
Quick recap on the three parts.
Part 1 is the kettlebell workout. You do three kettlebell sessions a week, each one designed to burn around 500 calories.
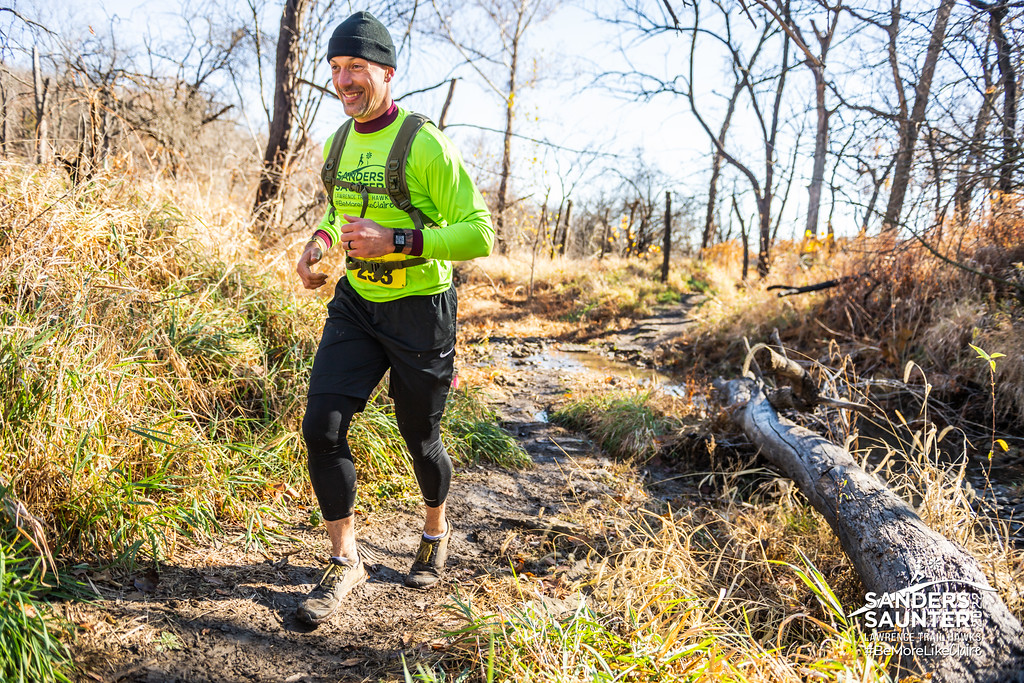
Part 2 is your off days. On those days, you do some kind of low-impact cardio, walking, rucking, hiking, sprinting, or biking, again aiming for about 500 calories burned.
Part 3 is a diet audit. You don’t have to give up your favorite foods. You just make a few small tweaks to reach a 500-calorie deficit each day.
Put those three things together, and over the next 28 days, you’re looking at that 8 to 10 pounds or a full clothing size down.
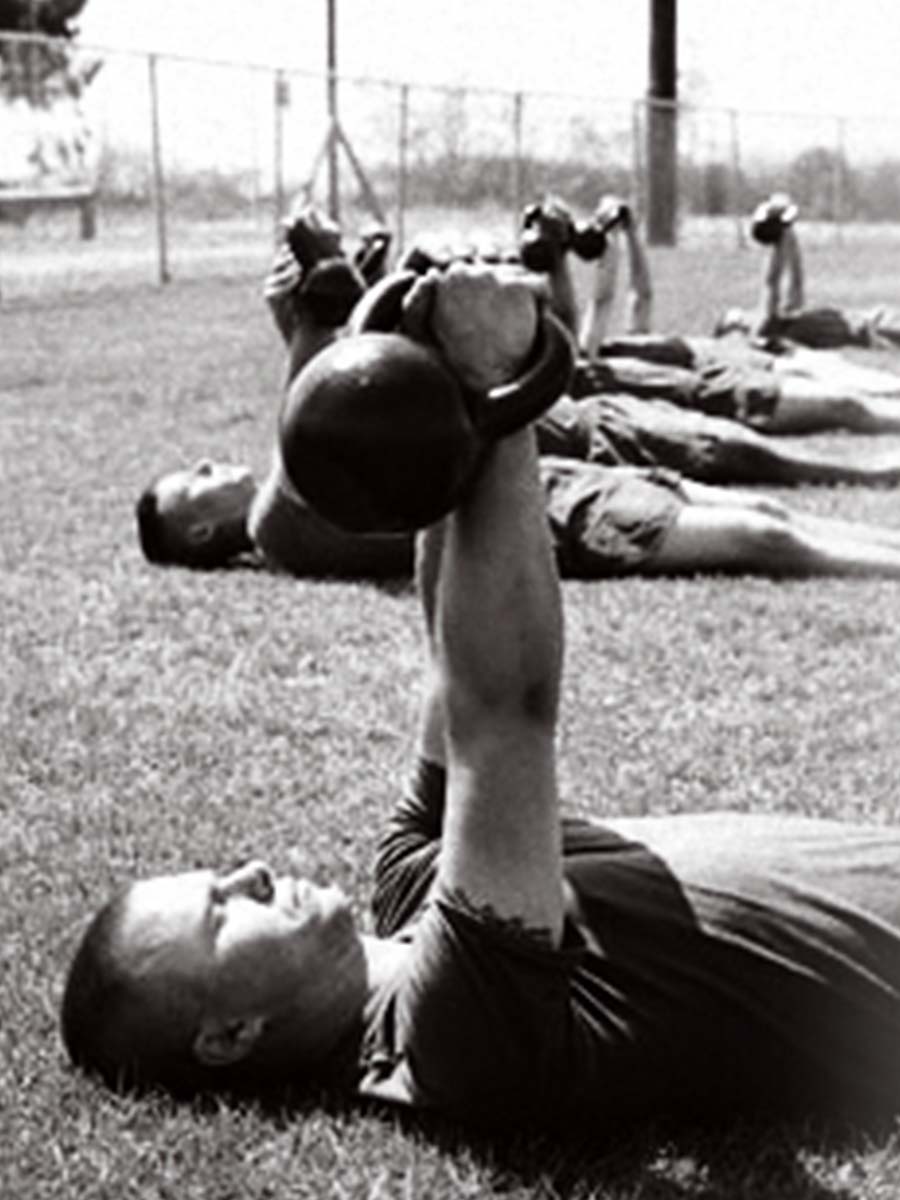
Today I want to give you a sample kettlebell workout so you can see exactly what these sessions look like.
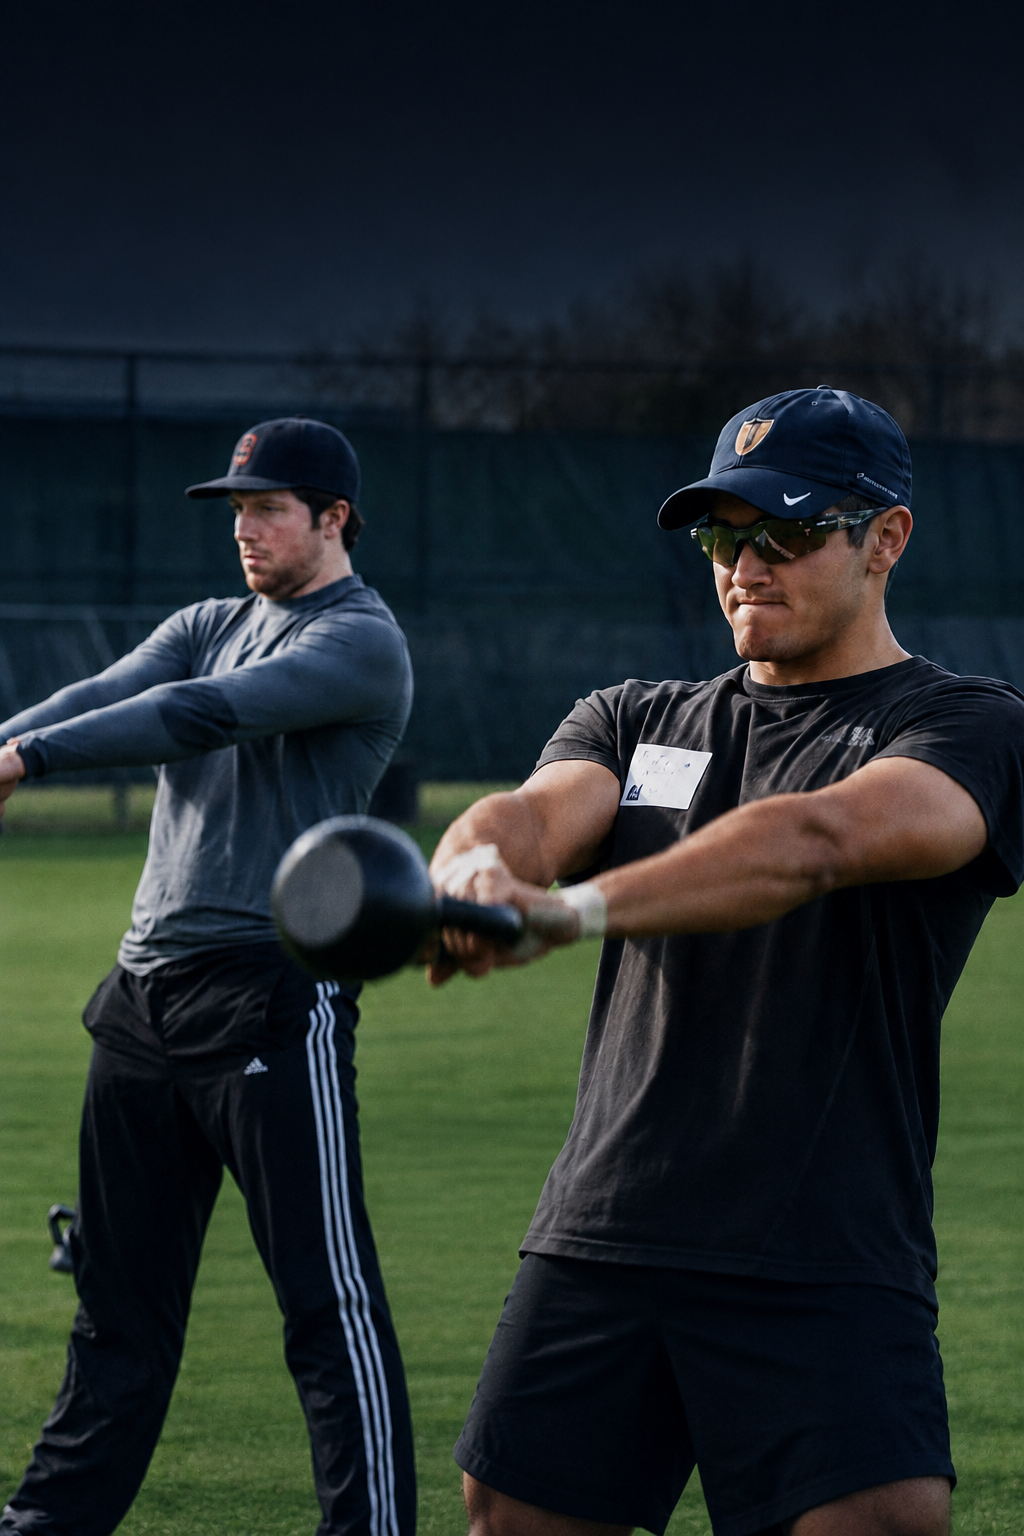
Here’s the thing about a well-built kettlebell workout. You’re burning calories during the session, but you’re also building lean muscle, and that muscle keeps burning calories at rest long after you’re done. For the 28-day challenge, we want both. Short-term calorie burn and long-term metabolic payoff. That combo is hard to beat, and it’s exactly why kettlebells are the tool I keep coming back to.
Here’s a sample from the program. Try it today:
#
500 Cal Kettlebell Challenge
Buy-in: 100 bodyweight squats, as fast as possible. Only done once.
Then complete the following for 4 total rounds, resting as needed between moves and 40 to 60 seconds between rounds.
- 1-arm KB clean and push press, right – 5 (Women 12k+, Men 20k+)
- 1-arm KB clean and push press, left – 5 (Women 12k+, Men 20k+)
- Side-stepping KB swings – 20 total reps (Women 16k+, Men 24k+)
- Push-ups – 10 (modify by elevating hands)
- Jump lunges – 10 total reps (modify with alternating rear lunges)
- 1-arm KB gorilla row, right – 10 (Women 16k+, Men 24k+)
- 1-arm KB gorilla row, left – 10 (Women 16k+, Men 24k+)
- KB plank drag through – 20 total reps (Women 12k+, Men 20k+)
- Burpees – 10 (modify by elevating hands)
#
If you want the full program, here’s what’s waiting for you inside the 500 Kettlebell Protocol.
- The full 28-day 500 Kettlebell Protocol Workout Plan
- The 500 Cal Engine Builders program
- The 500 Cal Cut Method diet plan
- Bonus: the 28 Day Drop a Size Challenge (4-week training plan to do next)
- Bonus: a digital copy of my CORE kettlebell book (Amazon top seller)
- Bonus: access to my live kettlebell workshop (learn the basics of safe and effective KB training)
Check out the 500 Kettlebell Protocol HERE (on sale for Summer Shred, this weekend only).
— Forest and the FVT Team