
*”KB Fit Over 40″ Personalized Coaching with Forest is LIVE! Extremely limited space for this one, and it will fill quickly. Details and apply to work with me here:
-> “KB Fit over 40” Personalized Coaching with Forest
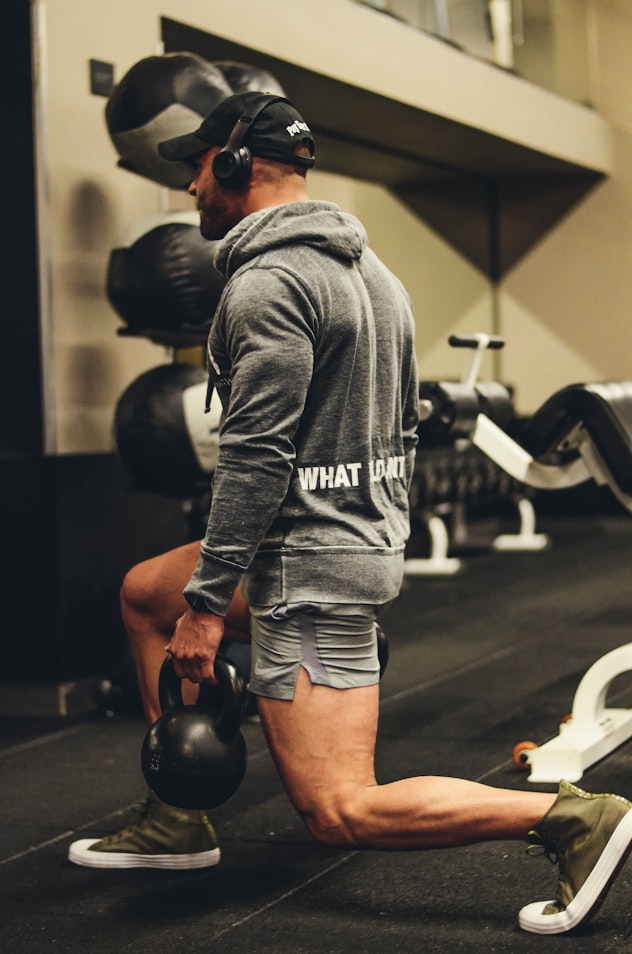
How To Avoid The “Kettlebell Sore Wrist Syndrome”
If you’ve just started using kettlebells, you have probably already experienced the sore wrist syndrome. It’s very common with people just learning to use kettlebells in their workouts, but it is completely avoidable. The key to avoiding sore wrists during and after your workouts is to take the time to learn proper technique from the start, and also to be disciplined about the intensity and vigor of your workouts while you’re still learning. Following these tips will help you avoid soreness in your wrists and forearms as you learn to use kettlebells.
Start slow and gradually increase the intensity of your workouts
It’s tempting to take your new equipment and dive right in at full speed. But anytime you’re learning to use something new, it’s important to slow way down and focus on proper technique and gradual increases. When you’re learning new exercises, focus on going slowly through the proper range of motion and get comfortable with exactly what the exercise is first. Don’t jump right in and do 100 reps of something you just learned. Focusing on a few slow reps of a new exercise will still help you build muscle and will help you avoid the pain and soreness from overuse.
Focus on perfecting the technique
Cleans, Snatches and Presses all exert a lot of force on your wrists, which is what leads to the pain, soreness and bruising. Whenever you’re working on learning one of these techniques, practice the motion slowly and carefully until you’re comfortable with it. Then gradually increase the speed.
Your hand and forearm should be moving to meet the ‘bell, not the other way around
When you’re doing a Snatch properly, the kettlebell should float in the air for a split second and then you bring your hand quickly to meet it. This lessens the impact that your wrist has to absorb.
Cleans work the same way, your focus is on bringing your hand to the kettlebell instead of letting it wrap around and fall down on your arm.
Relax your grip on the kettlebell a bit
You want to hold the ‘bell with a firm grip when you’re doing the Clean and the Snatch, but don’t squeeze it tightly. A firm grip lets you control the motion of the kettlebell, but also allows some flex in your wrist instead of trying to dead stop all the momentum. Relax and loosen up your grip slightly and focus on making sure you have control of the kettlebell as it moves.
Whenever you’re learning new exercises, a little pain and soreness is part of the price that we all pay. But focusing on proper form and technique will minimize this pain and let us maximize the time we spend doing the exercises properly. So take it slow and give yourself time to learn things properly and then train hard!
-Forest Vance
Kettlebell Expert
Over 40 Training Specialist
KettlebellBasics.net
PS – “KB Fit Over 40” Personalized Coaching with Forest is LIVE! Extremely limited space for this one, and it will fill quickly. Details and apply to work with me here: